
Capturing stunning photos in low-light conditions can be a challenge for even experienced photographers. However, with the right techniques and equipment, you can enhance your low-light photography skills and capture breathtaking images in any setting. In this article, we'll explore some tips and techniques to help you elevate your low-light photography game.

Tips and Techniques for taking Photos
1. Understand Your Camera Settings
Before diving into low-light photography, it's essential to familiarize yourself with your camera's settings. Understanding concepts such as ISO, aperture, and shutter speed will allow you to make the necessary adjustments to optimize your images in low-light conditions. Experiment with different settings to see how they affect the exposure and overall look of your photos.
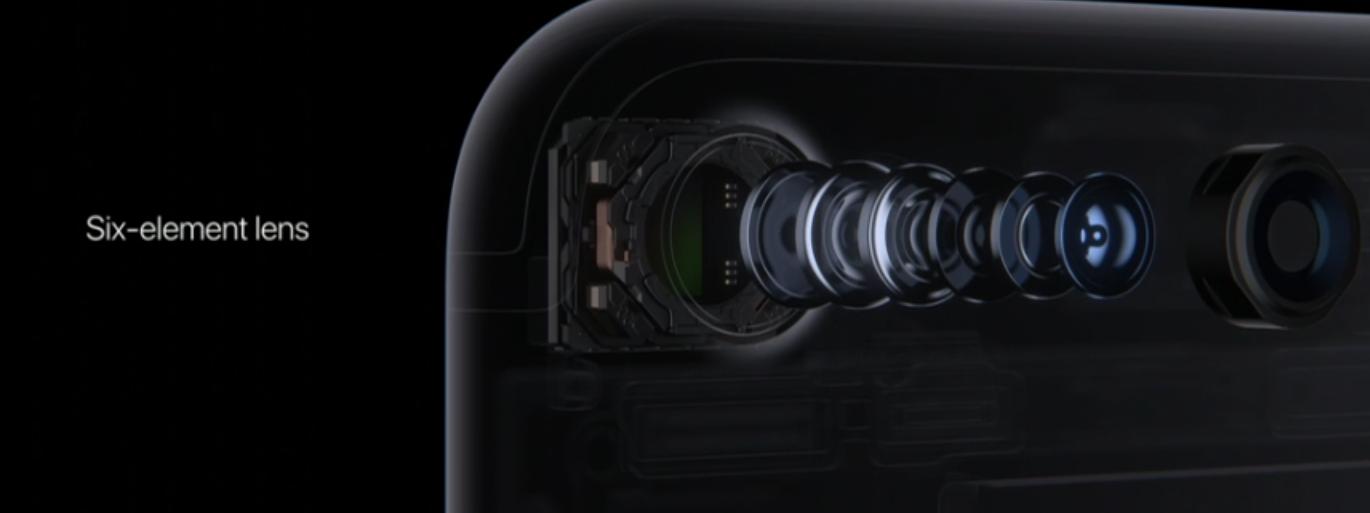
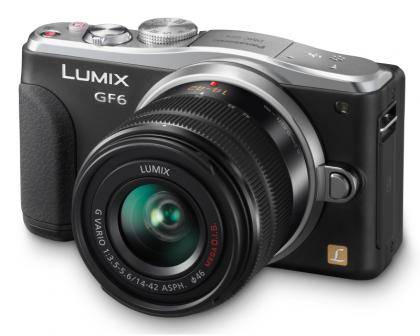
2. Use a Wide Aperture Lens
When shooting in low light, using a lens with a wide aperture (such as f/1.8 or lower) can significantly improve your results. A wide aperture allows more light to enter the camera, resulting in brighter and more detailed images. Additionally, a wide aperture creates a shallow depth of field, which can help isolate your subject and create a beautiful bokeh effect in the background.
3. Invest in Quality Lighting Equipment
While natural light is often preferred for photography, it may not always be available or sufficient in low-light situations. Investing in quality lighting equipment, such as external flashes or LED panels, can help you illuminate your subject and improve the overall quality of your photos. Experiment with different lighting setups to find the one that works best for your desired look and style.
4. Stabilize Your Camera
In low-light conditions, even the slightest camera shake can result in blurry photos. To minimize camera shake and ensure sharp images, use a tripod or stabilize your camera on a stable surface. Additionally, consider using features such as image stabilization (if available) or a remote shutter release to further reduce the risk of camera shake.
5. Embrace High ISO Settings
While higher ISO settings can introduce noise into your images, they also allow you to capture photos in low-light conditions without sacrificing exposure. Experiment with different ISO settings to find the balance between brightness and noise that works best for your specific shooting situation. Additionally, consider using noise reduction software during post-processing to minimize the appearance of noise in your final images.
6. Experiment with Long Exposures
Long-exposure photography can produce stunning results in low-light conditions, allowing you to capture unique light trails and atmospheric effects. Experiment with long exposure times, ranging from a few seconds to several minutes, to create dynamic and visually striking images. Additionally, consider using neutral density filters to control the amount of light entering your camera and achieve the desired exposure.

7. Focus Carefully
In low-light photography, achieving accurate focus can be challenging due to the limited available light. Use your camera's autofocus system to lock onto your subject, or switch to manual focus for greater control over the focusing process. Additionally, consider using techniques such as focus stacking to ensure that your entire scene is sharp and in focus.
Conclusion
Enhancing your low-light photography skills requires practice, experimentation, and a willingness to push the boundaries of traditional photography techniques. By understanding your camera settings, investing in quality equipment, and experimenting with different techniques, you can capture stunning images in even the most challenging lighting conditions. So grab your smartphone pura 70, head out into the night, and let your creativity shine!


