
Maintaining proper dental hygiene is essential, and a water flosser is one of the most effective tools for keeping your teeth and gums in great condition. However, to keep your flosser working properly, regular cleaning is a must. Knowing how to clean water flosser correctly will help prevent the buildup of bacteria, mold, or mineral deposits that could affect its performance. This guide will walk you through all the necessary steps for cleaning your water flosser, from disassembling the parts to storing it properly. Following these steps ensures that your water flosser stays hygienic and continues to deliver optimal results.
Key Parts of Your Water Flosser That Need Cleaning
To ensure the effective functioning of your water flosser, focus on cleaning several key components. These include the water tank, nozzles or tips, handle, and motor area. Each of these parts plays a crucial role in the device's performance and hygiene. For example, the water tank can accumulate mold or residue, the nozzles can clog with debris, and the motor area can collect dust. Cleaning these components regularly ensures the water flosser remains in top shape. Understanding which parts need attention will make your cleaning process more efficient and maintain your device's performance for years to come.
Step-by-Step Guide to Cleaning Your Water Flosser
Disassembling Your Water Flosser
Before cleaning your water flosser, ensure it is turned off and unplugged for safety. Begin by carefully disassembling the parts of the device. Start with the water tank, followed by the nozzles and handle. Refer to the user manual if you're unsure how to take apart your specific model, as different models may have unique disassembly instructions. Make sure to place each detachable part in a safe area where they won’t get damaged. Taking your time during this step is essential for cleaning all parts thoroughly and ensuring your water flosser functions properly once reassembled.
Cleaning the Water Tank and Internal Components
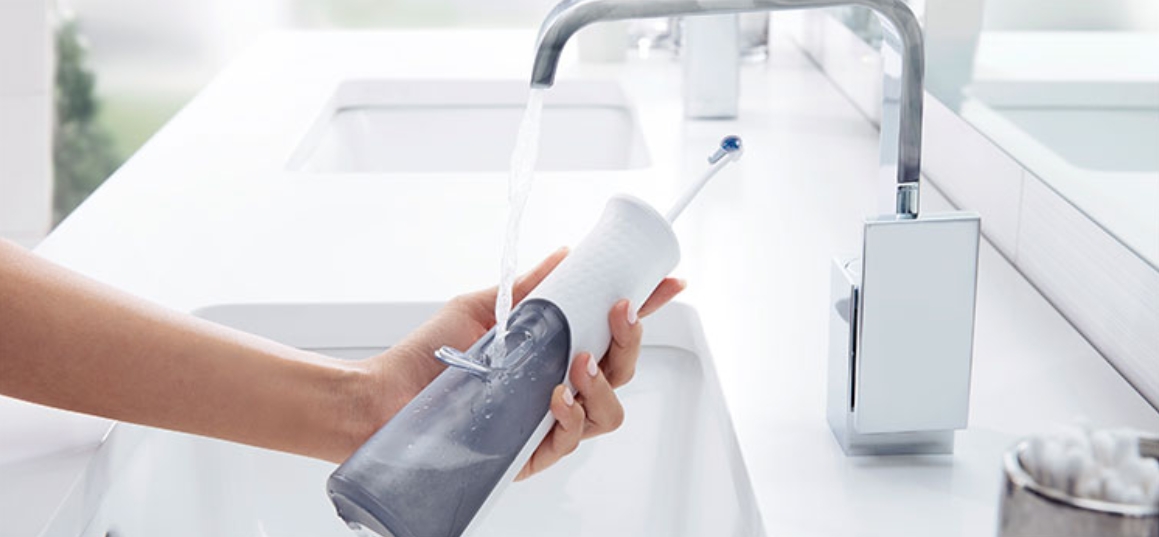
After disassembling the water tank, empty it and rinse it with warm water to remove any leftover water residue. Use mild dish soap and a soft brush to scrub the interior, paying close attention to any areas that may have accumulated grime or stains. To clean the internal components, mix one part of white vinegar with two parts of water. Run this solution through the device as per the manufacturer’s guidelines to remove any mineral buildup or scale. This step is crucial to maintaining the efficiency of your water flosser, especially if you live in an area with hard water.
Cleaning the Nozzles and Tips
Nozzles and tips are in direct contact with your mouth and should be cleaned with care. Start by removing the nozzles and soaking them in a solution of two parts water and one part white vinegar for about five minutes. This will help loosen any debris or buildup. After soaking, use a soft toothbrush to gently scrub the tips, removing any particles that may be stuck inside. It’s important to clean these parts thoroughly to prevent bacteria buildup. After scrubbing, rinse the nozzles thoroughly with clean water before reattaching them to the device.
Cleaning the Handle and Motor Area
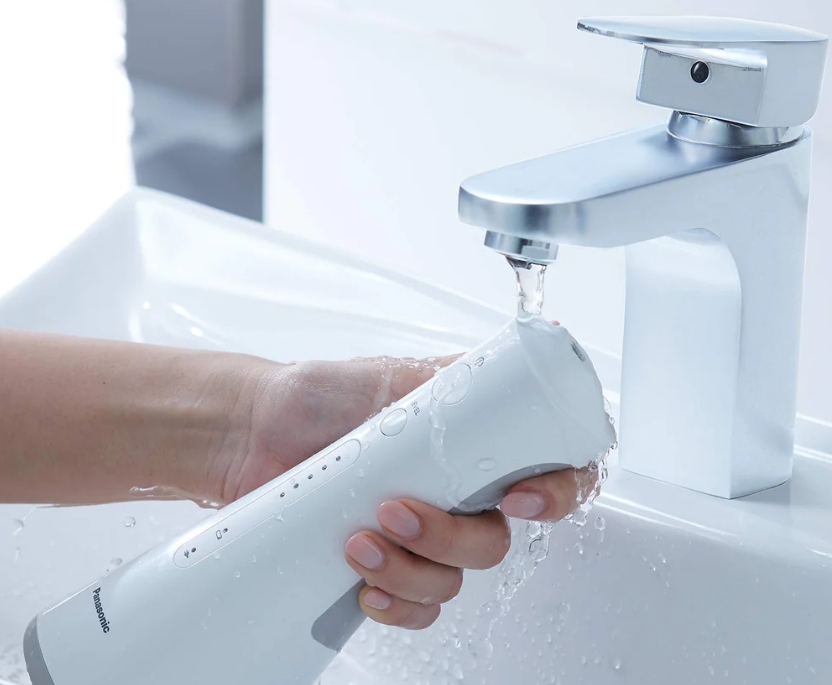
Wipe the handle and the exterior of the motor area with a damp cloth. Be cautious not to allow water to seep into any electrical components, as this can cause malfunctions. For areas with stubborn grime, use a cotton pad with isopropyl alcohol to disinfect the surface. This will help remove any dirt or bacteria that may have accumulated. It’s essential to ensure these components remain dry after cleaning to prevent any damage or corrosion. Once cleaned, allow the handle and motor area to air dry before reassembling the device.
Reassembling and Testing the Flosser
Once all parts are cleaned and dried, begin reassembling your water flosser. Refer to the user manual to ensure you place each part in the correct position. Double-check that all pieces fit securely, as improper assembly can lead to malfunction or leakage. After reassembly, plug in the device and test it with clean water to ensure it operates smoothly. Check that all functions are working, and make sure there are no leaks or unusual noises. Testing it before use guarantees that your water flosser is fully functional and ready for your next cleaning session.
Troubleshooting Common Cleaning Issues
Even after cleaning your water flosser, you may encounter a few issues. One common problem is reduced water pressure, which may indicate that the nozzles are clogged. To fix this, remove the nozzles and clean them thoroughly. Another issue could be leakage, which may be due to faulty seals or O-rings. Inspect the seals and replace them if necessary. If your flosser has an unusual smell, it could be from bacteria or mold buildup. Run a vinegar and water solution through the system to eliminate any odors. If these problems persist, it might be time to contact customer support for further assistance.
Storing Your Water Flosser Correctly
Proper storage is key to extending the life of your water flosser. After cleaning, make sure that all parts are thoroughly dried before reassembling the device. Once reassembled, store the water flosser in a dry, cool place away from direct sunlight or extreme temperatures. Avoid storing it in areas with high humidity, as this could promote mold growth. If you won’t be using your water flosser for an extended period, it’s advisable to disassemble the parts and store them separately. This will prevent moisture buildup and keep the device in optimal condition for future use.
Conclusion
Regular maintenance and cleaning are crucial for ensuring the longevity and performance of your water flosser. By learning how to clean water flosser regularly, you can prevent the buildup of bacteria, mold, and mineral deposits, ensuring that the device continues to provide effective cleaning. Make sure to clean the water tank, nozzles, and handle to keep your flosser in top shape. Additionally, following the manufacturer’s guidelines for maintenance will ensure you get the best results. A well-maintained water flosser will help you maintain excellent oral hygiene and ensure long-term efficiency and reliability for your daily routine.
FAQ
How Often Should I Clean My Water Flosser?
For optimal hygiene, clean your water flosser thoroughly at least once a month. However, you should rinse the water tank after each use and clean the tips weekly to maintain cleanliness.
Can I Use Harsh Chemicals to Clean My Water Flosser?
It’s best to avoid using harsh chemicals like bleach, which can damage the internal components. Stick to mild dish soap, white vinegar, and water for safe and effective cleaning.
What Should I Do If My Water Flosser Starts to Smell?
If your water flosser develops an odor, disassemble the parts and soak them in a water-vinegar mixture. If the smell persists, run the same solution through the system and rinse thoroughly.


